How to Create an Entry
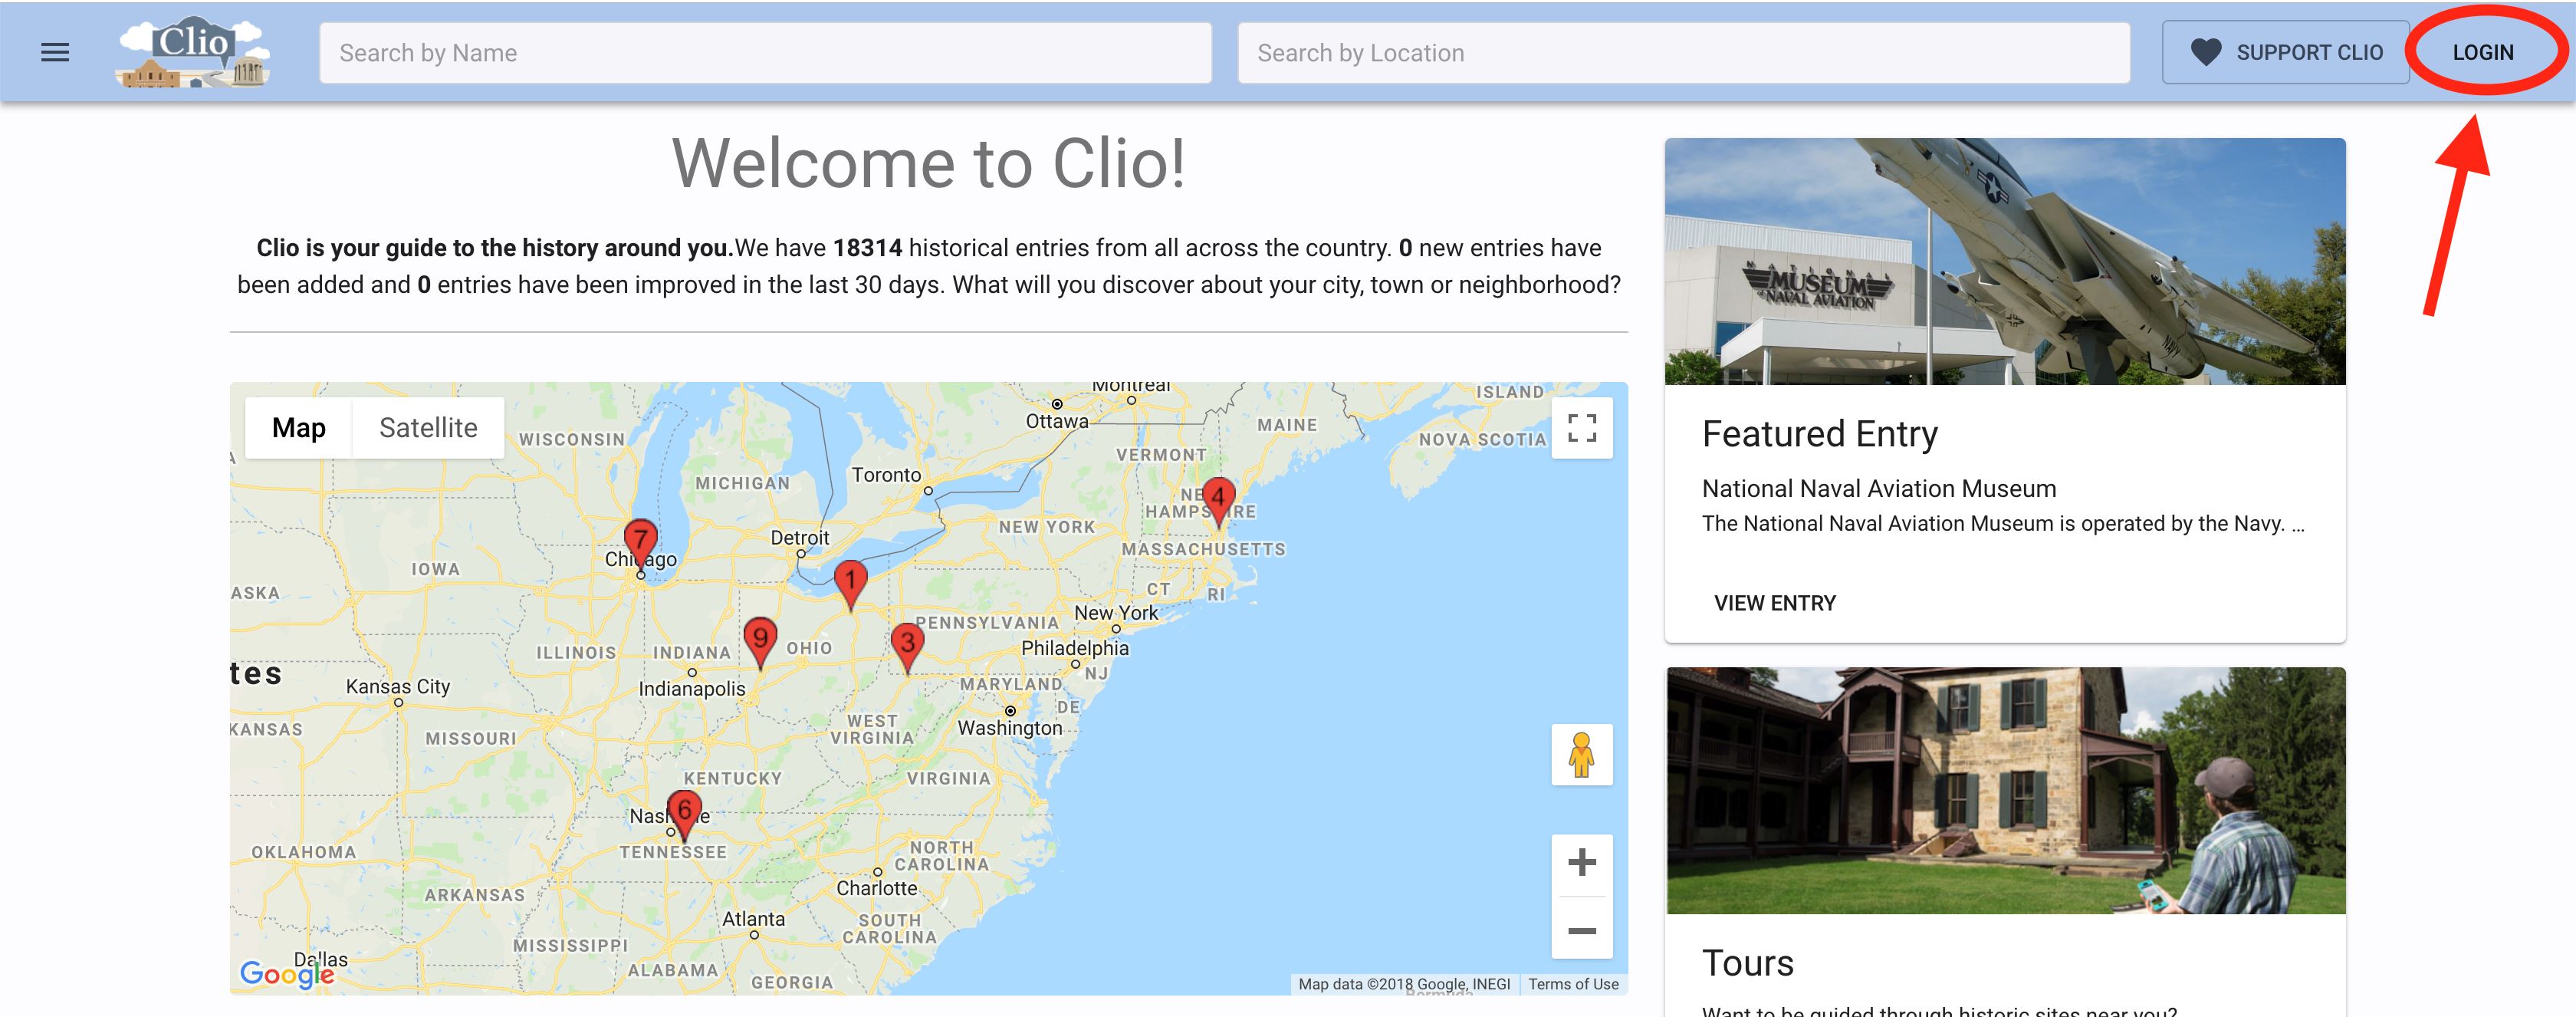
You may use Clio without logging in or creating an account, but an account is required to create and/or improve entries so we can credit the author. Unlike Wikipedia, Clio entries are not anonymous and we do our best to verify information before publishing an entry rather than using a completely open model. Click on the green “Login/Register button in the top right corner of the screen to log-in or create an account.
Are you a student enrolled in a course that is using Clio? If so, click on the green “Clio in the Classroom” button on the top right-hand screen, find your university and class, and enter the common password provided to your class by your instructor. When you are finished, you will have the option saving the entry as a draft (you plan to keep working on the entry) or you can submit your work to your professor. Be sure to add your name at the end-these two steps will ensure that your professor sees your entry.
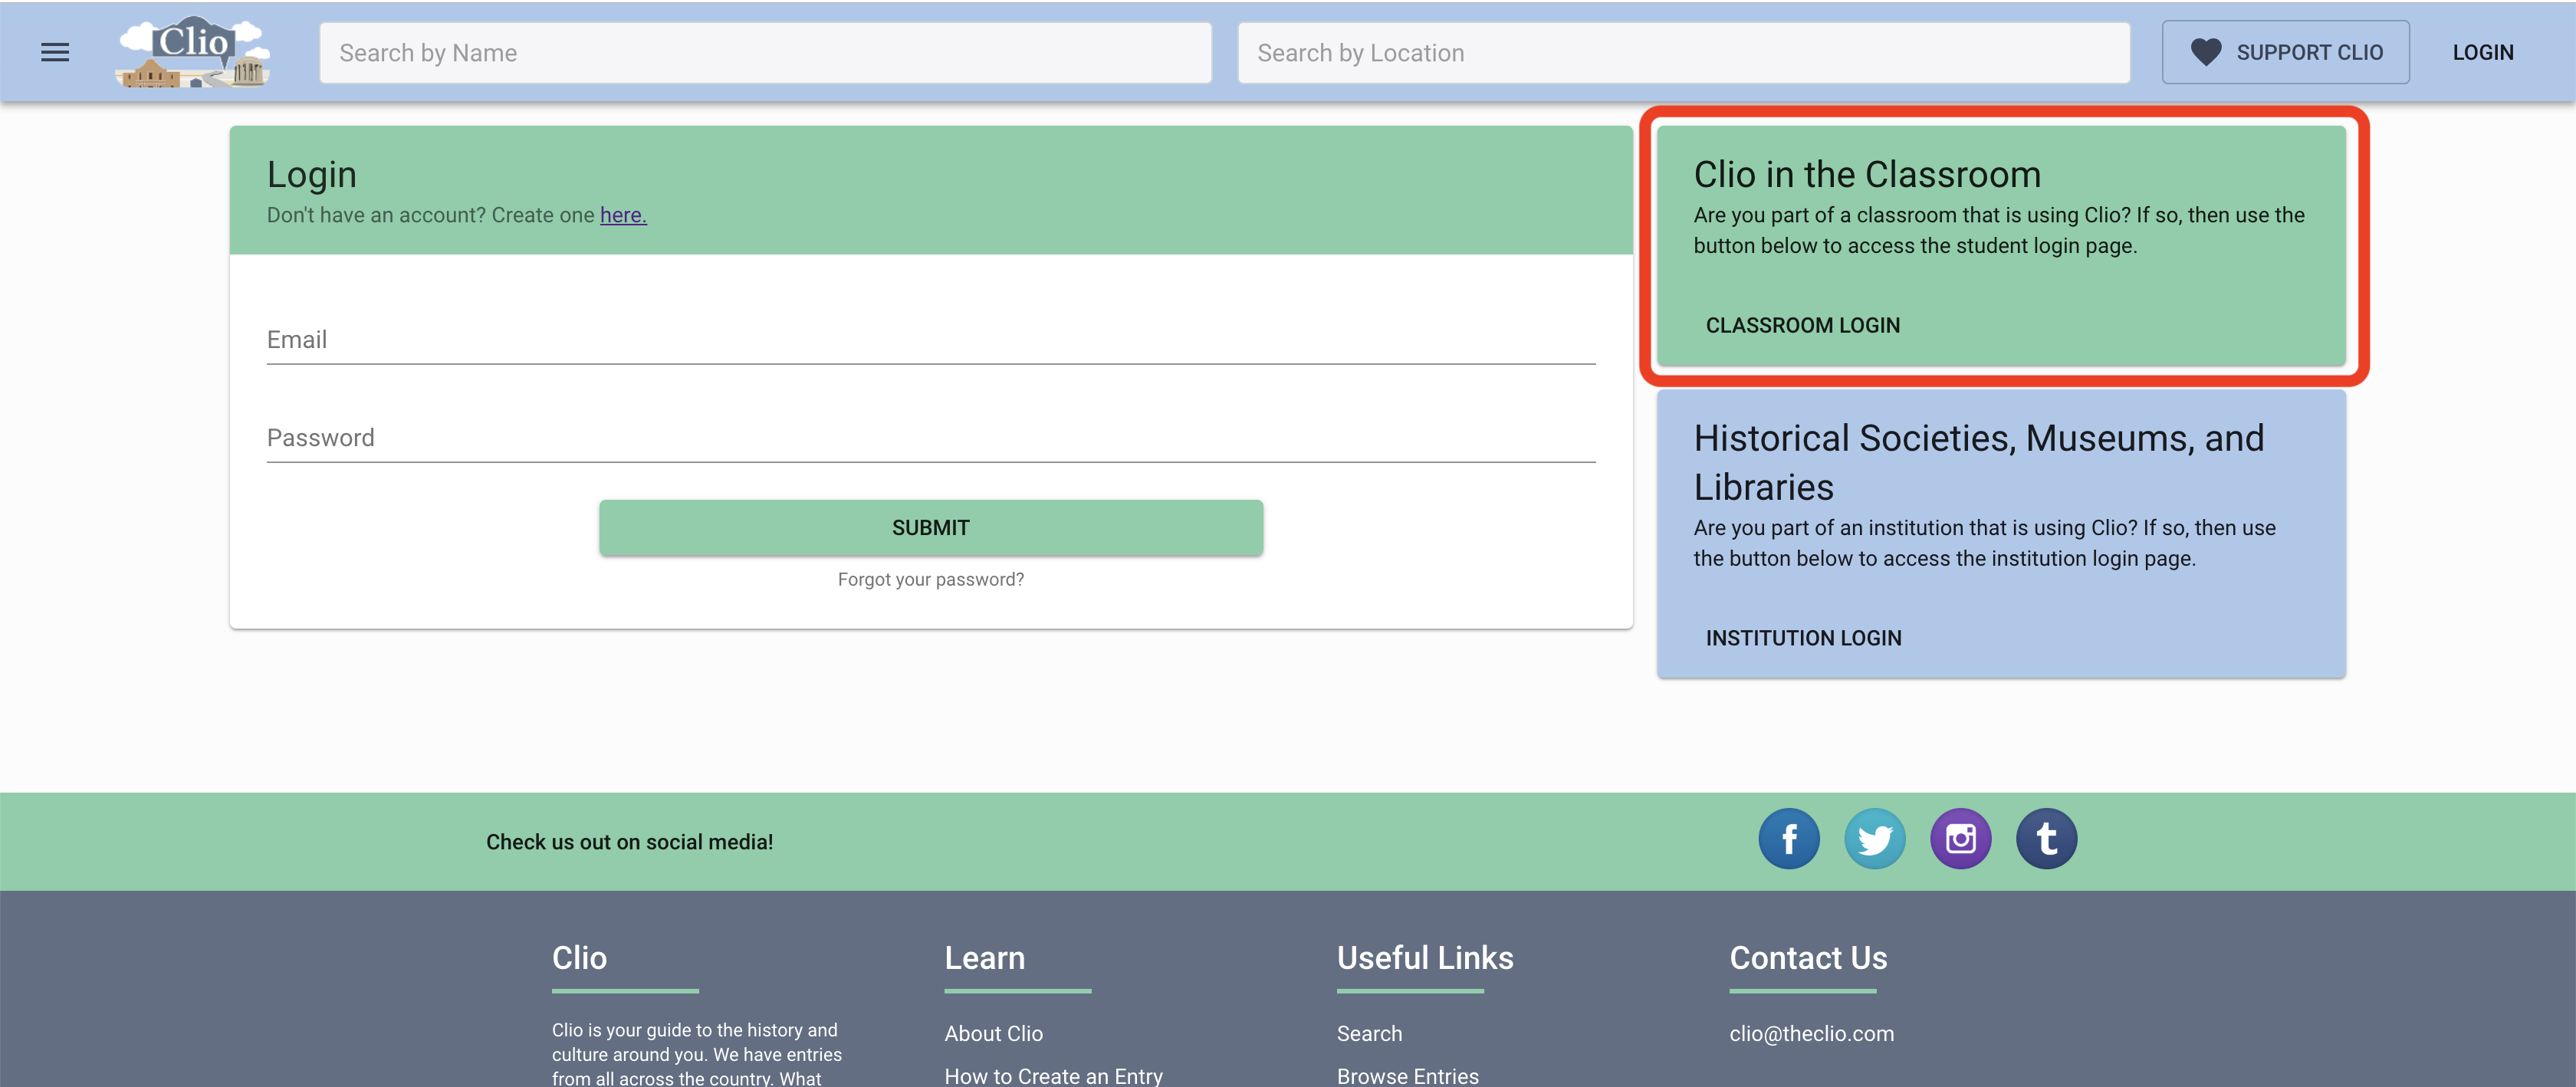
If you are creating entries on behalf of an institution, such as a historical society or library, please click on the blue “Institutional Login” button. Select the name of the institution from the scroll-down menu and then provide the password.
If you are creating entries as an individual rather than creating them as part of a course or on behalf of an institution, create a new individual account by filling out the required information-Name, Email Address, and Password. Be sure to remember the email address you used to sign up. Clio can send your password to your email address and you can also change your password, but you will need to remember the email address you used to create an account. If you forget, you can always create a second account with a different email address.
Once you create an account, you will be automatically logged in to Clio and you can start creating entries immediately. All entries will go into draft mode pending review by our editors.
STEP 1: Determine whether a museum, gallery, or historical landmark is already in Clio. You can do this by searching by location and by searching by name. Because someone might have used a different name when creating an entry, it is always best to check both.
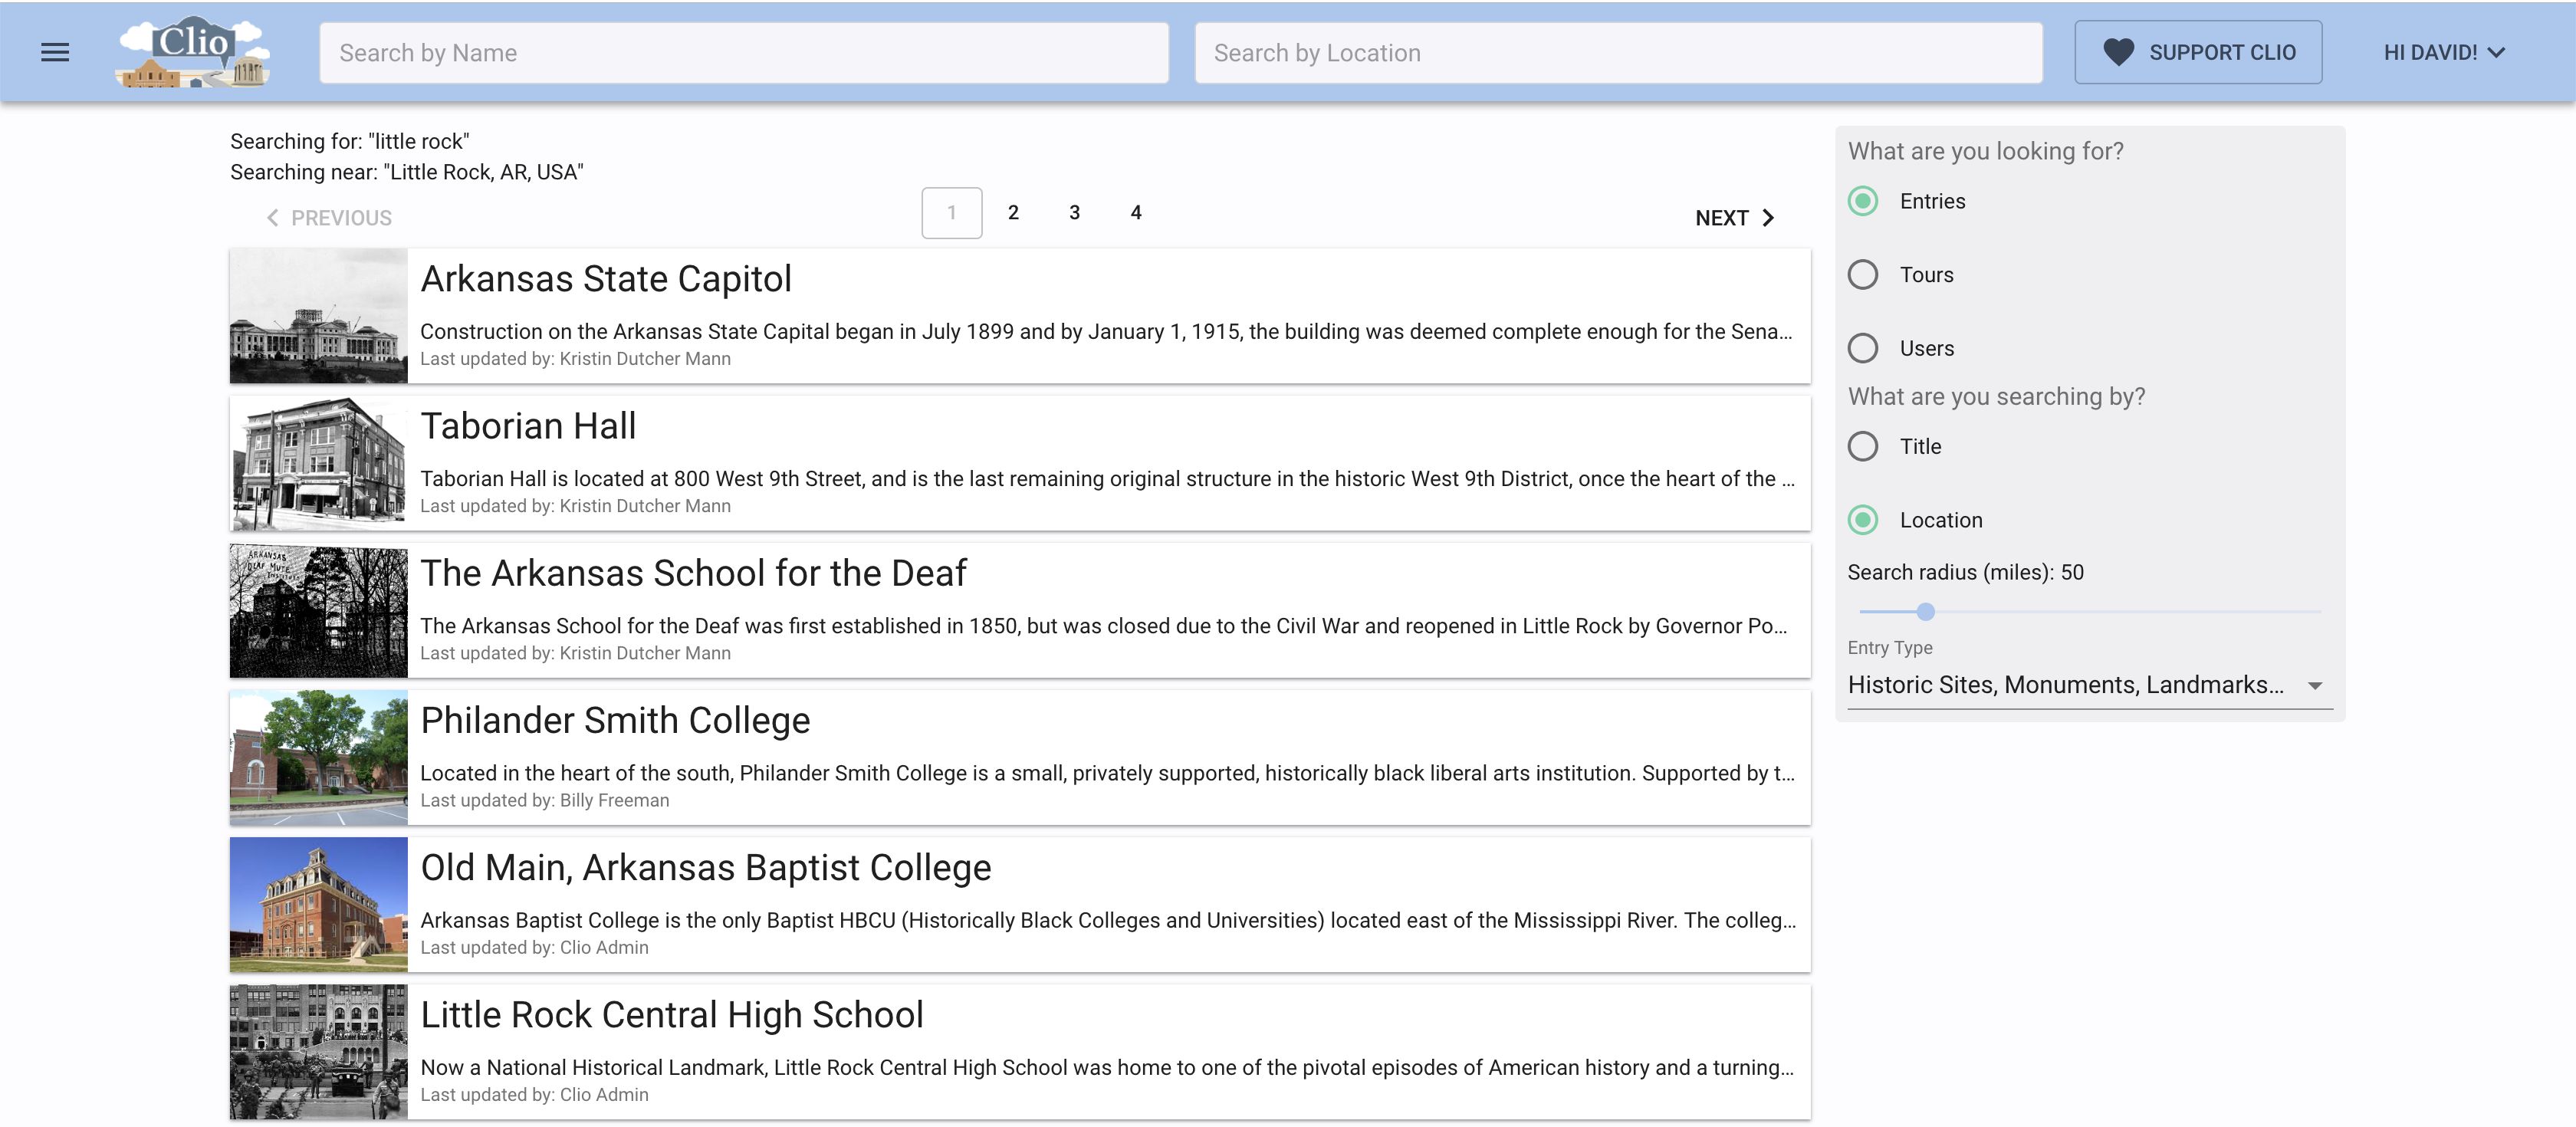
In this example, we searched for the Little Rock Central High School by entering the name of the city. We see 51 locations within 25 miles, and a quick review of the entries and map reveals that Little Rock Central is already in Clio. (We could have also searched for the school by name.) We would NOT want to create a second entry for the same place. We might, however, improve the existing entry by opening it and clicking on “Improve This Entry” at the bottom of the screen. Clio depends upon users creating new entries as well as improving existing entries.
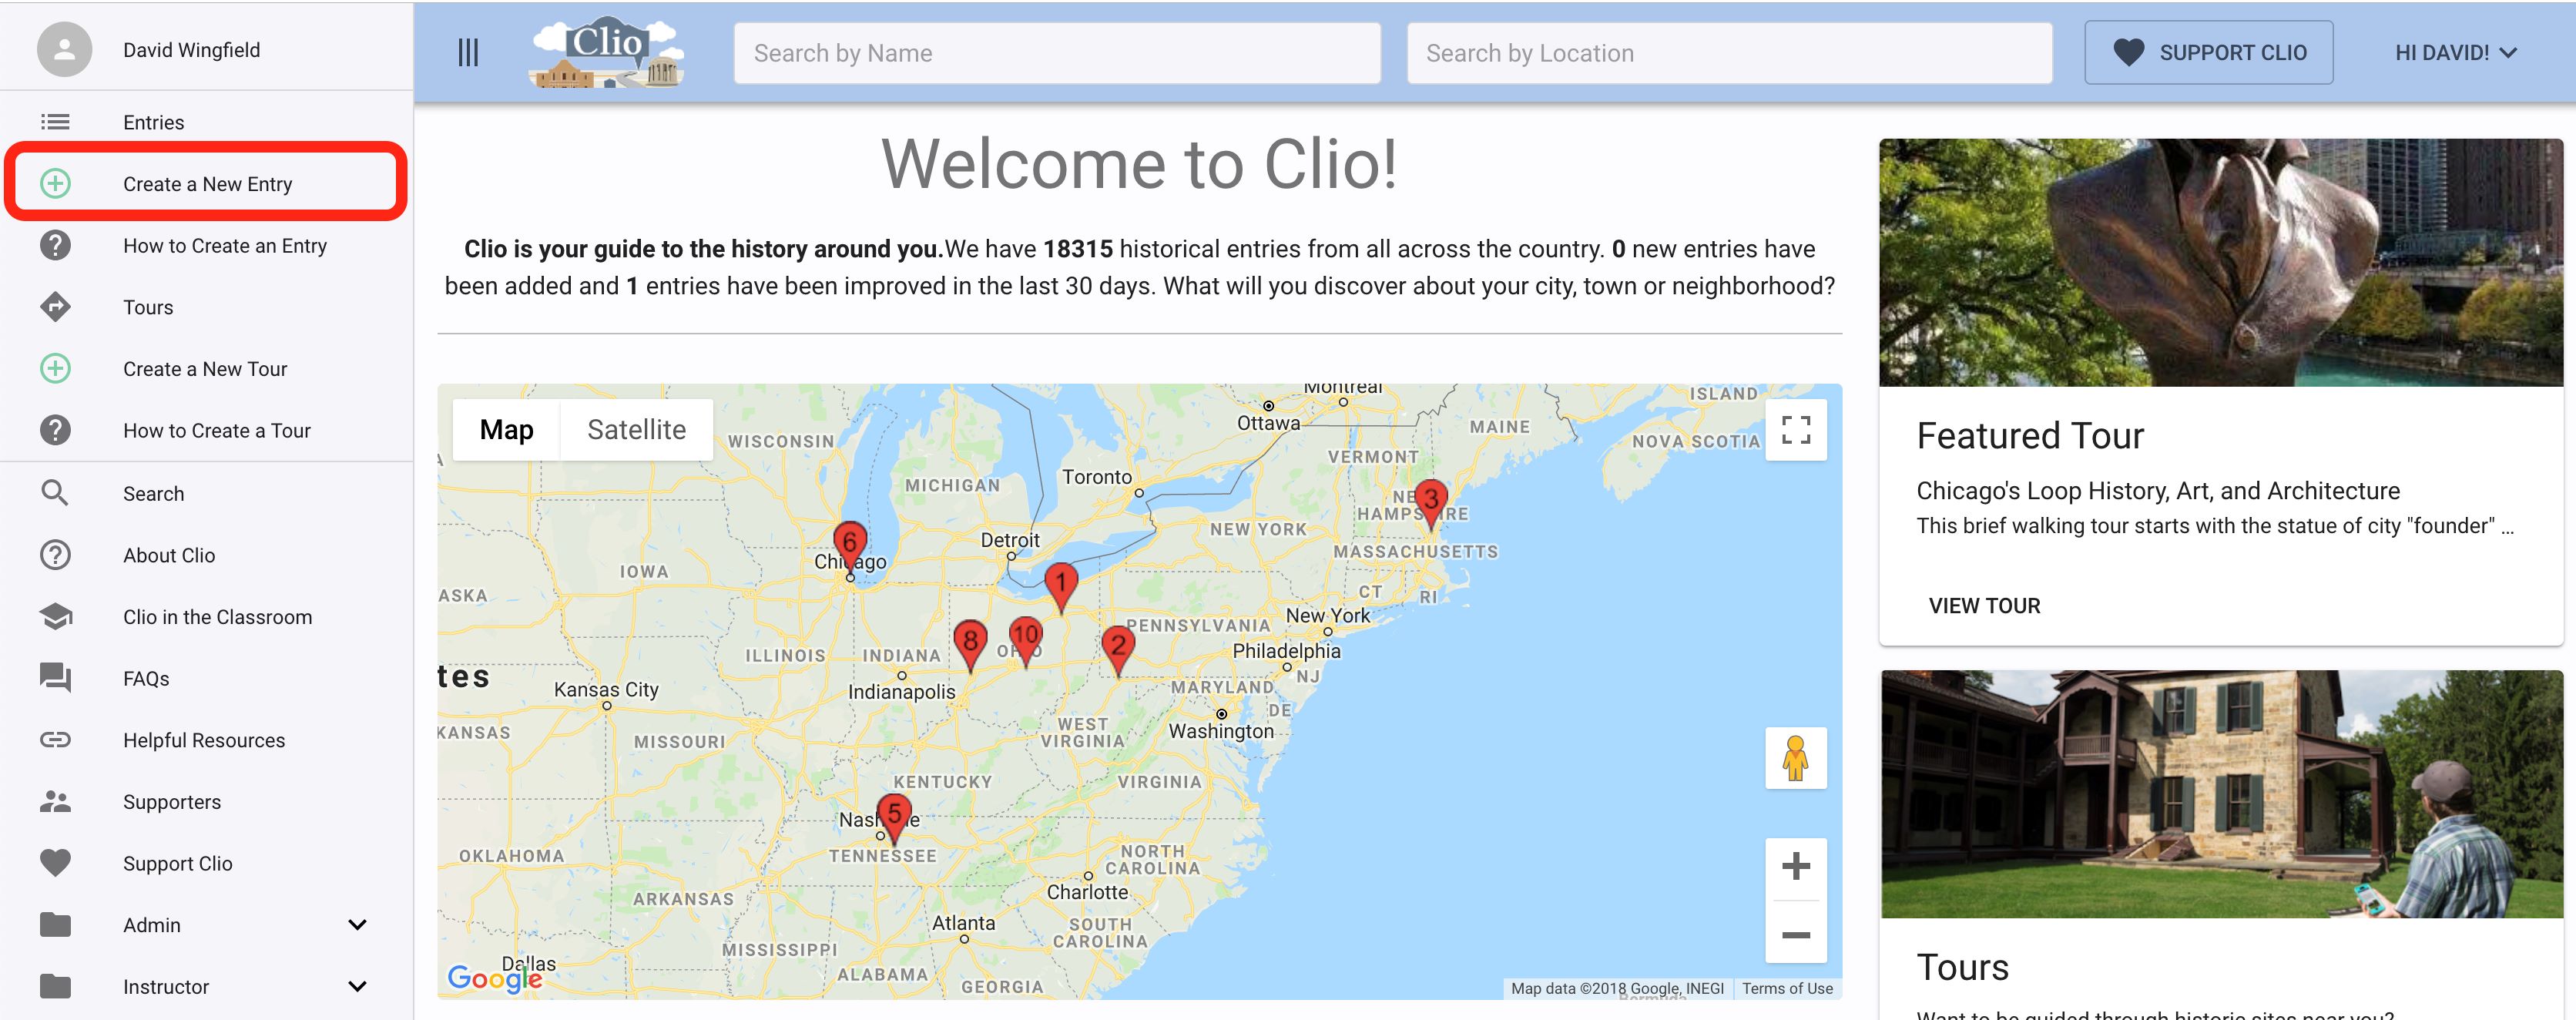
If you find that there was not yet an entry for a particular historic building, monument or marker, please create a new entry. To get started, open the menu drawer and click "Create an Entry”.
After clicking on “Create an Entry” we see this screen which allows us to enter the location of the historic site or museum. If we enter an address and select “Calculate Location,” circled in blue. Clio drops a pin at that address. If the pin appears to be in the right spot, click "Next". If it needs to be moved, you may do so by clicking on the pin and manually moving it to the proper location before clicking on the “Continue button. You can also enter GPS coordinates. Accuracy is absolutely essential, so be sure that the location is precise.

The next screen is designed to alert users to nearby entries—a final safeguard to prevent users from accidentally creating a duplicate entry. Double-check and verify that the entry you are about to create is not already in Clio. After you verify that the entry is not in Clio, hit "Next."
Here is the entry screen where you enter all of the information including the introduction, additional information/backstory, hours and contact information (if applicable), the sources you used to create the entry, photos, and links to relevant websites, articles, books, and media such as videos and audio recordings. Let’s look at the first half of the entry screen first:
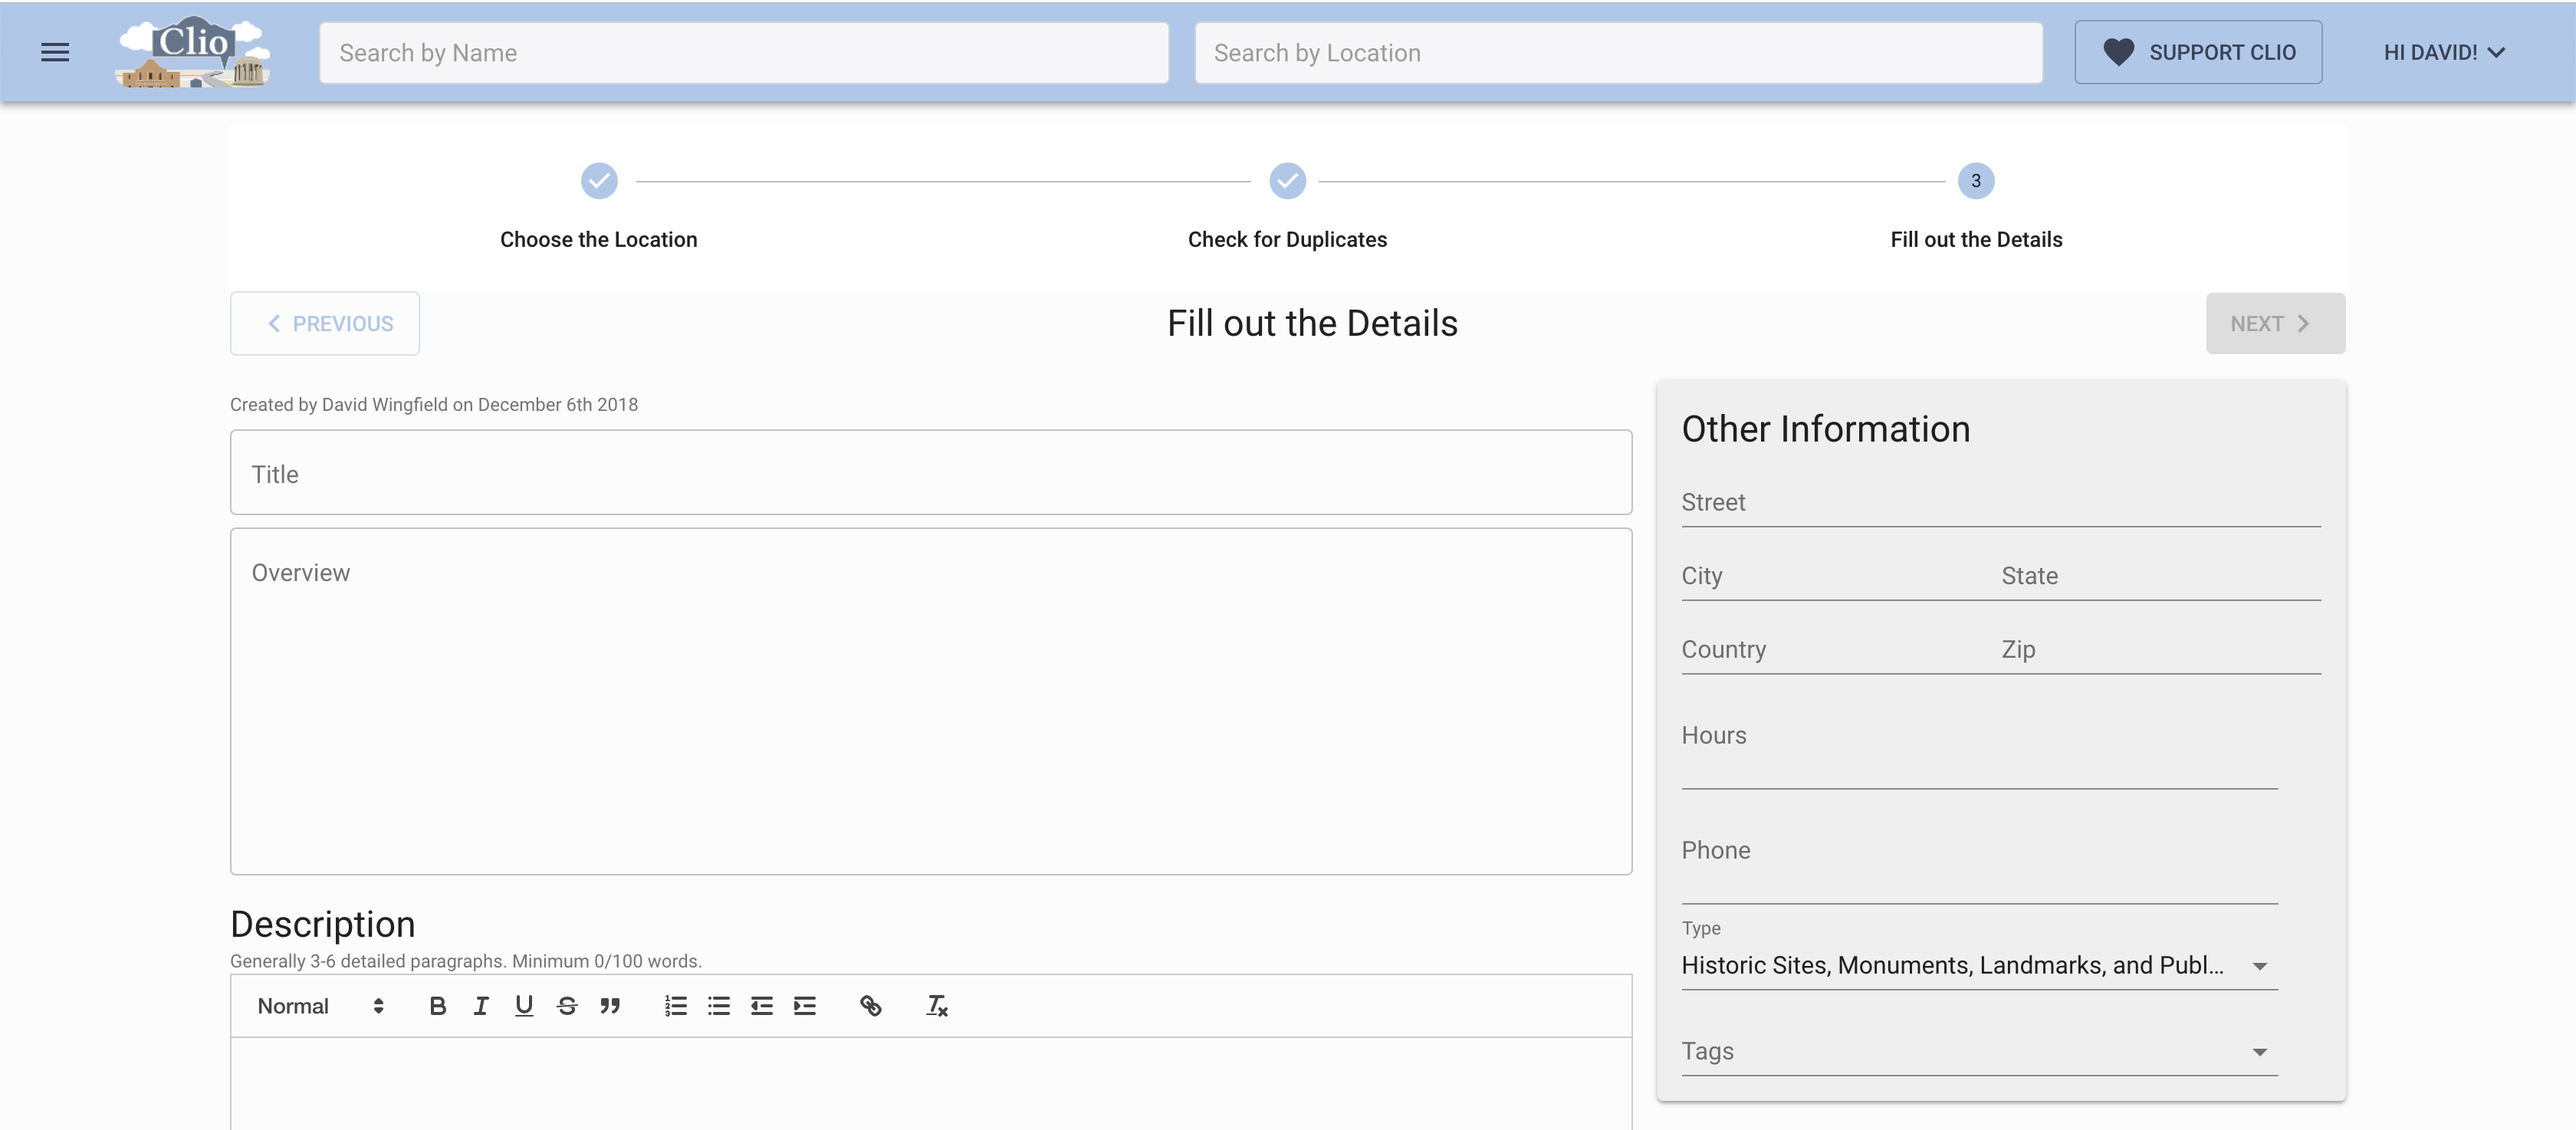
The first step is to enter a title and select one of the three menu options for the type of entry. The first two categories are self-explanatory. “Time Capsule” entries are for entries where a historic event occurred or for placing historic images on the map. For example, an entry about a sit-in or photos of a building that used to exist are time capsule entries because they provide a glimpse into the past. The Overview Section (blue arrow) should provide a full paragraph overview. If you are creating an entry for a museum, archive, or gallery, be sure to provide a phone number and hours of operation.
If applicable, you can also add a category to your entry. Categories are meant to give users an idea about the scope of a museum (national, state, local) or let them know if a historic site is listed on the National Register of Historic Places or has been recognized as a National Historic Landmark.
You have the option to add tags such as “Art and Art Museums”, Military History”, and “African American History”. Simply click on the tags that fit the entry and they will by applied.
On the right side of the screen, you will see a map showing the current location of your entry followed by a second screen underneath the map that shows the images in Google Street View for that location. Street View includes images captured by their roving camera cars as well as 360-degree images added by users. By incorporating these two screens, you can move the pin and the image below will update, or you can move through Google Street View and the map will update. This allows users to place their entry with the utmost accuracy. In addition, you can easily add images to Google StreetView and these will be available for use in Clio). Keep in mind that Google’s camera cars have not been to every location and some urban areas have so many images loaded in Street View that it might be take some time for you to find the right image. If your historic site is not in Google Street View you will see a black screen. You have the option of disabling Street View within an individual entry.
By moving the “pin” on the map, you will see the images in Google Street View change (and vice versa). Some historic buildings have interior 360 degree images that will show up when your pin touches the building on the map. Here is an example of a city hall building-the top image has the pin in front of the building while the bottom image has the pin on top of the building. Play around with each entry to try and give the user the best picture of a historic marker, monument, building, etc.
After locating your entry with as much precision as possible, it’s time to add the rest of the entry-the backstory/detailed narrative, images, with captions, links to related primary/secondary sources, and the option to embed video and audio clips that have already been saved to the web. (Because Clio is a mobile app, large files such as videos must be linked from other sites to limit the amount of memory that Clio requires.)
Here is the bottom half of the entry screen:
The green arrows point to the place where we can add a more detailed description of the museum, gallery, or historic site. The best entries also provide some of the backstory about how a monument or museum was created—this is often the most interesting part of all.
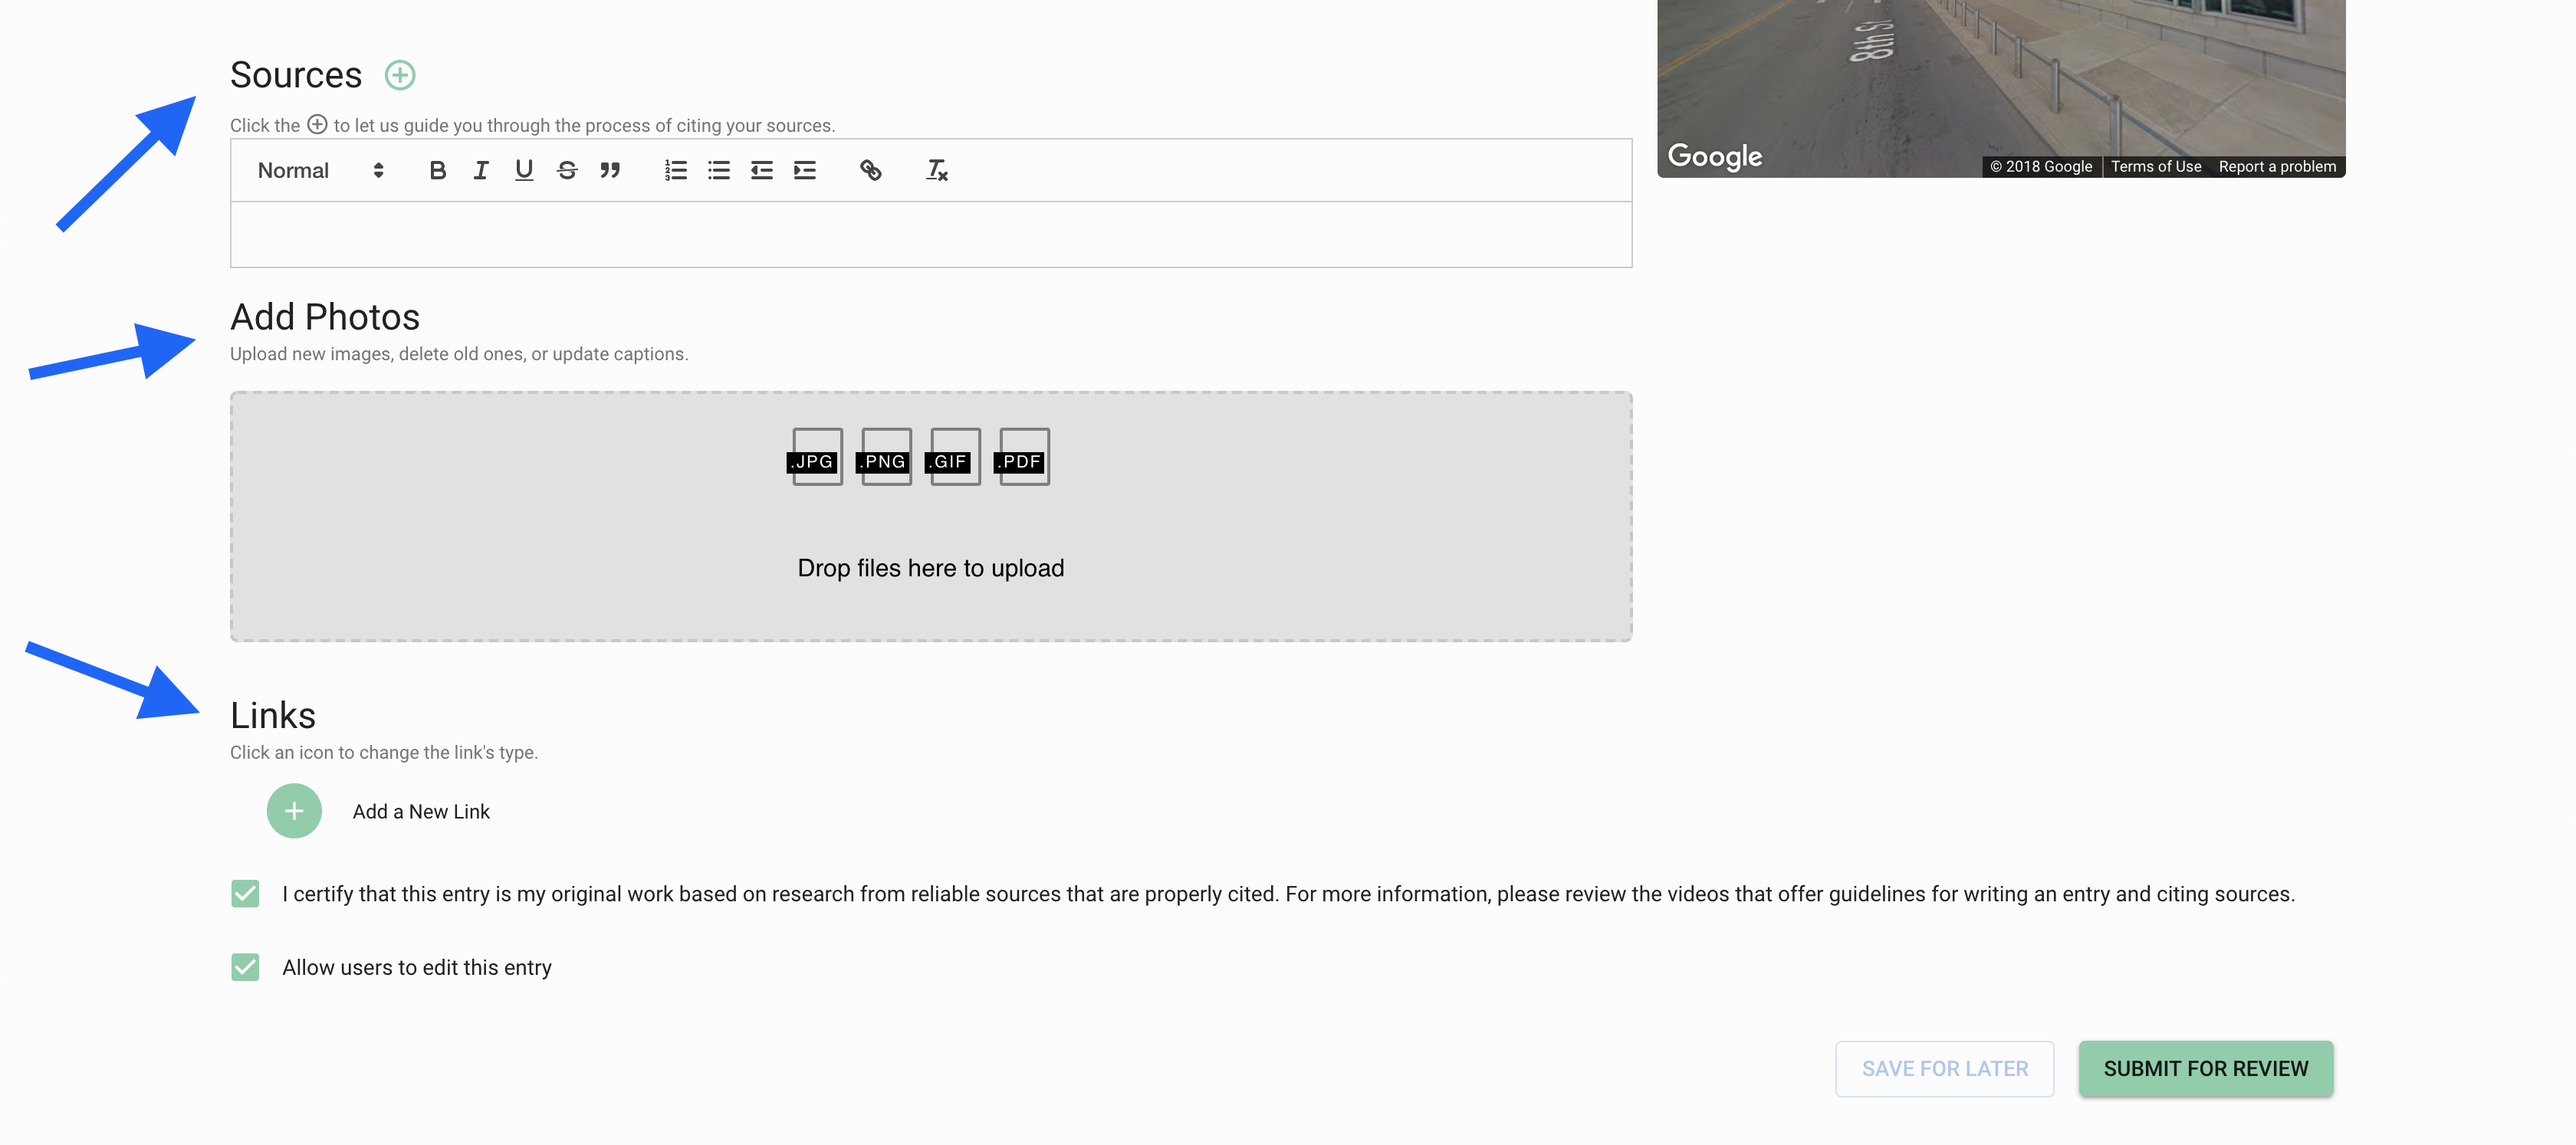
Finally, we will want to add at least one image and links to web sites, articles, books, and videos. The blue arrows point to where we can add a list of sources used, embed images, and create links to credible websites, books, articles, and media. There is a scroll down menu for links so users will know what kind of link you have added along with captions for links and images.
You can save your work and return to the entry by clicking on the orange “Save as Draft” button. When you are satisfied with your entry, click on the green “submit for review” tab. That’s it! If you are a student using your instructor’s classroom account or creating an entry on behalf of an organization, please be sure to enter your name.
If you are using a classroom or institutional account, be sure to enter your name.
New entries appear in draft mode until approved by an administrator. Student entries will be reviewed by the class instructor while those created on behalf of a historical society or other organization will be reviewed by the individual who manages that institutional account. Draft entries appear on the map immediately so we can avoid duplicate drafts. You can make improvements to your entry while it is in draft mode. You may also create additional new entries—these will also go into draft mode until approved by one of the administrators. Once approved, the entry will be live in Clio and your work will help others discover the history and culture around them.