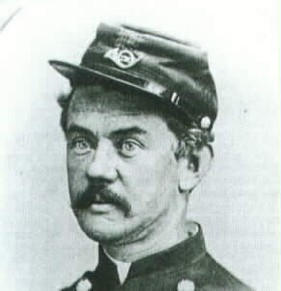
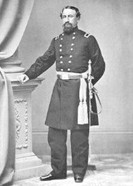
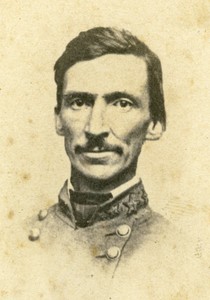
"Marmaduke, Cabell, and Slemons taken prisoners; 5 pieces of artillery captured, and the morale of the army ruined. Everything hurried on, a mass of confusion, from which it took every exertion to redeem it."2
Such was the manner in which a member of Sterling Price's staff described the pandemonium infecting the retreating Confederate Army of Missouri on October 25, 1864. The damage described by Lieutenant Colonel Lauchlan MacLean, however, occurred earlier that afternoon at Mine Creek. The fourth and final river crossing of Price's army on the 25th on the other hand, at an unnamed ford of the Marmaton River, witnessed no such debacle. Indeed, if Mine Creek is notable for inflicting disastrous losses upon the Confederates, the later fight at Marmaton is notable because it did not.
There was every reason for it to be. Well-armed, veteran Union cavalry came upon the rear of the panicked Confederate columnn as Price's ponderous wagon train struggled to scale the steep banks of the Marmaton, just as they had at Mine Creek. Like before, a patchwork force of Confederate units assembled to protect the main columnn (this time commanded by Price's most capable division commander, Jo Shelby. Price's other two divisions were annihilated at Mine Creek, and one division commander [Marmaduke] captured). Shelby's ad-hoc rearguard formed lines of battle on the north side of the Marmaton, with their backs to the river as desperate horses and men sloshed southward to relative safety--just like Mine Creek. Here the similarities ended.
At Marmaton, the 8,000-strong Confederate line stretched roughly a mile, with each flank anchored on a substantial creek. The Union advance was thus funneled into a narrow front, providing little room for tactical flexibility. The Union cavalry's horses were spent after a full day of pursuit. And this time, Union General John McNeil held tactical command, rather than the Colonel Phillips or Benteen, both of whom who had exercised more aggressive action in the previous engagement. McNeil was more easily spooked. Indeed, after Shelby formed his exhausted Confederates, a Rebel brigade under Charles Tyler (many of whom were unarmed) charged forward against McNeil's left flank. The charge was easily quashed with little loss for McNeil, but the mere temerity of the assault was enough to pause his entire advance.
Colonel Frederick Benteen's Federal brigade soon arrived on horses exhausted from the fight at Mine Creek, swung into formation on McNeil's right flank, and charged. McNeil took little action to support Benteen's movement and the charge bogged down in prairie mud. The 4th Iowa, seeing the debacle unfolding, chose not to follow mindlessly and instead charged the opposite Confederate flank. The attack was as uncoordinated as its predecessors, and soon stopped cold well short of the Confederate line.
When the Iowans pulled back to McNeil's position, this seemed to abort any further Federal impetus to attack. The superior Union officer in the field, General Alfred Pleasonton, seemed satisfied with his command's efforts that day, and soon headed for nearby Fort Scott with any reinforcements that might have continued the effort. McNeil and Benteen's men were left in the field to corral Price and soon "dropped upon the frosty grass to sleep, holding their horses by the bridles."1 Shelby's rearguard slowly withdrew across the river during the night and Price slipped away from Kansas into Missouri. No further fighting would occur for several days, at Newtonia on October 28, and Federal forces had lost their final opportunity to trap and annihilate the last of Price's army.
----
Though an interpretive marker stands today on the outskirts of Deerfield, Missouri, claiming to be the site of the battle, it is unlikely that this vantage point saw any significant part of the fighting. Decades of debate have swirled around the actual boundaries of the Marmaton River battlefield. At best, this marker may have seen the passage of Price's wagon train on its desperate flight south, though the battlefield is certainly close by. The marker, however, places the battle itself firmly in Missouri (if the Confederate left flank indeed anchored on Shiloh Creek, whereas most contemporary sources suggest the Confederate right rested on Shiloh Creek--which places the battle in Kansas.1


